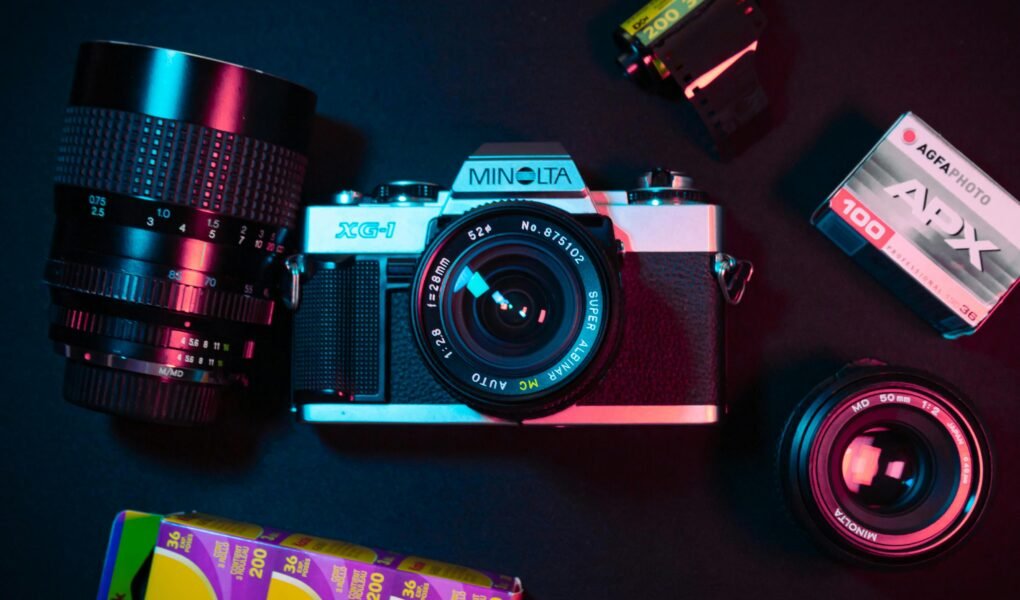
Are you looking to take your video production skills to the next level? Look no further! In this article, we will provide you with essential lighting tips that will help you create high-quality videos. Lighting plays a crucial role in capturing and enhancing the visual appeal of your videos, whether you are filming a vlog, tutorial, or short film. With our helpful tips and tricks, you will be able to create professional-looking videos that stand out from the crowd and captivate your audience. So, grab your camera and get ready to elevate your video production game with these essential lighting tips!
Choosing the Right Lighting Equipment
When it comes to creating high-quality videos, choosing the right lighting equipment is essential. Understanding the different types of lights and their characteristics can greatly improve your video production.
Understanding Different Types of Lights
There are various types of lights commonly used in video production. Here are a few examples:
-
Incandescent Lights: These lights are commonly found in regular household lamps. They produce a warm, yellowish light and can work well for creating a cozy atmosphere in your videos.
-
Fluorescent Lights: Fluorescent lights are energy-efficient, produce less heat, and are widely used in commercial spaces. However, they can sometimes cast a greenish tint in the videos, which may require color correction.
-
LED Lights: LED lights are becoming increasingly popular due to their energy efficiency, durability, and versatility. They come in various sizes and can be adjusted in intensity and color temperature, making them a great choice for video production.
By understanding the characteristics of each type of light, you can choose the one that best suits your needs and the overall mood you want to convey in your videos.
Using Natural Lighting
One of the simplest and most cost-effective ways to enhance your videos is by utilizing natural lighting. Natural light can provide a soft, pleasing quality to your videos and create a more authentic look.
To make the most of natural lighting, consider filming during the “golden hours,” which are the hours shortly after sunrise or before sunset. During these times, the sunlight is usually warmer and casts longer, more flattering shadows.
You can also experiment with using window light or shooting outdoors in shaded areas to achieve a softer and more even lighting effect. Remember to avoid direct sunlight, as it can create harsh shadows and make your subject squint.
Investing in Artificial Lighting
While natural lighting is beneficial, it’s not always consistent or available when you need it. That’s where artificial lighting comes into play. Investing in a good set of artificial lights can provide you with more control over the lighting conditions and ensure consistent results.
When choosing artificial lights, consider factors such as color temperature, intensity, and adjustability. LED lights are a popular choice for many videographers due to their versatility and ability to simulate natural light. Softboxes and umbrellas can also be used to diffuse and soften the light, creating a more flattering and even illumination.
Considering Light Temperature
Light temperature refers to the warmth or coolness of a light source, measured in Kelvin (K). Different light temperatures can evoke different emotions and moods in your videos.
For example, warm light with a lower color temperature (around 3200K) can create a cozy and inviting atmosphere. This type of lighting is commonly used in indoor scenes and interviews.
On the other hand, cool light with a higher color temperature (around 5600K) can give your videos a bright and crisp look. This type of lighting is often used for outdoor shots or to convey a more energetic and dynamic mood.
Understanding light temperature and its impact on your videos can help you make informed decisions when setting up your lighting equipment and achieving the desired mood for your videos.
Proper Placement of Lights
Once you have chosen the appropriate lighting equipment, knowing how to position the lights effectively is crucial for achieving professional-looking videos.
Identifying Key Light Position
The key light is the main light source in your setup and is usually placed at a 45-degree angle to the subject. This position helps create depth and dimension, emphasizing the contours of the face or the subject’s features.
When positioning the key light, consider the direction of the light and the shadows it creates. Experiment with different angles to find the most flattering and visually appealing effect for your subject.
Balancing Key Light with Fill Light
The fill light is used to soften the shadows created by the key light. It is usually placed on the opposite side of the key light to provide a more even illumination.
Experiment with the positioning and intensity of the fill light to achieve the desired balance between light and shadow. You can adjust the fill light’s intensity to create different moods and effects in your videos.
Using Backlight for Depth
Adding a backlight or hair light behind the subject can help separate them from the background and create a sense of depth. The backlight is usually positioned behind and above the subject to create a subtle rim of light around their silhouette.
This technique adds a three-dimensional look to your videos and helps prevent your subject from blending into the background. Be mindful of the backlight’s intensity to avoid overexposing the background or causing unwanted flares.
Avoiding Harsh Shadows
Harsh shadows can be distracting and unflattering in videos. To minimize harsh shadows, consider using diffusers or bounce lights to soften the light and create a more pleasing illumination.
Additionally, you can position reflectors near the subject to bounce some of the light back onto their face, filling in shadows and creating a more flattering appearance.
By experimenting with different lighting techniques and understanding how they interact, you can achieve a well-balanced and professional lighting setup for your videos.
Using Reflectors and Diffusers
Reflectors and diffusers are valuable tools for controlling and shaping light in your videos. Reflectors are used to bounce light back onto the subject, while diffusers soften the light and reduce harsh shadows.
Reflectors come in various colors, such as silver, gold, and white, each providing a different quality of light. Silver reflectors create a cooler, more intense light, while gold reflectors produce a warmer, softer light. White reflectors offer a neutral bounce, balancing the light without altering its color temperature.
Diffusers can be used to soften and spread the light effectively. They come in different sizes and materials, such as silk or plastic, and can be placed in front of the light source to achieve a more diffused and even illumination.
Experimenting with reflectors and diffusers can help you achieve the desired lighting effects and improve the overall quality of your videos.
Tips for Lighting Setup
Setting up the lighting for your videos can seem daunting, but with a few essential tips, you can achieve professional-looking results.
Creating Three-Point Lighting
Three-point lighting is a popular lighting setup used in video production. It consists of three main lights: the key light, fill light, and backlight. This setup provides a balanced and flattering illumination for your subject.
Start by positioning the key light at a 45-degree angle to the subject, creating depth and dimension. Then, place the fill light on the opposite side of the key light to soften the shadows. Finally, position the backlight behind and above the subject to separate them from the background.
Adjust the intensity of each light to achieve the desired balance, and consider using diffusers or reflectors to further shape the light.
Using Softboxes and Umbrellas
Softboxes and umbrellas are popular light modifiers that help diffuse and soften the light, reducing harsh shadows and creating a more flattering illumination.
Softboxes are enclosures with a translucent material on the front that diffuses the light. They come in different shapes and sizes, providing various lighting effects. Umbrellas, on the other hand, are reflective surfaces that bounce the light back onto the subject, similar to reflectors.
Experiment with different types of softboxes and umbrellas to achieve the desired softness and diffusion in your videos.
Adjusting Light Intensity
The intensity of the lights plays a significant role in achieving the desired mood and effect in your videos. Some scenes may require brighter and more intense lighting, while others may benefit from a softer and more subtle illumination.
Try adjusting the intensity of your lights and observe how it affects the overall mood and atmosphere you want to convey. Keep in mind that the subject’s distance from the lights can also influence the light’s intensity.
Avoiding Glare and Hotspots
Glare and hotspots can be distracting and detract from the overall quality of your videos. Glare occurs when the light reflects off a shiny surface, such as glasses or reflective objects, while hotspots are areas where the light is too intense.
To avoid glare, position the lights at a different angle or adjust the distance between the subject and the light source. Additionally, using diffusers or placing a neutral density gel on the light can help reduce glare.
Hotspots can be controlled by adjusting the intensity of the lights or by using diffusers to spread the light more evenly. Be mindful of the subject’s positioning, as moving them slightly can sometimes eliminate hotspots.
By paying attention to these tips and adjusting your lighting setup accordingly, you can create high-quality videos with a professional and visually appealing look.
Color Temperature and White Balance
Understanding color temperature and white balance is crucial for achieving accurate and consistent colors in your videos.
Understanding Color Temperature
Color temperature is measured in Kelvin (K) and refers to the warmth or coolness of a light source. Lower color temperatures, around 3200K, produce warmer, yellowish light, while higher color temperatures, around 5600K, produce cooler, bluish light.
Different light sources, such as incandescent bulbs or daylight, have different color temperatures. It’s important to match the color temperature of your lights to the ambient light or adjust the white balance settings in your camera to ensure accurate colors.
Choosing the Appropriate White Balance
White balance is a camera setting that adjusts the colors in your videos to appear neutral under different lighting conditions. It ensures that white objects appear white, rather than tinted with the color temperature of the light source.
Most modern cameras have automatic white balance modes that can detect the ambient light and adjust accordingly. However, for more control and accuracy, you can set the white balance manually by using a white or gray card as a reference.
Remember to adjust the white balance settings whenever you change the lighting conditions to maintain consistent colors throughout your videos.
Using Gels to Modify Light Color
Gels are colored filters that can be placed in front of your lights to modify their color temperature. They are available in various colors and can be used creatively to enhance the mood and atmosphere of your videos.
For example, adding a warm orange gel to a cool LED light can create a sunset-like effect. Conversely, using a blue gel on a warm light can simulate moonlight or create a colder, more mysterious ambiance.
Experiment with different gels and their combinations to achieve the desired color effects and add visual interest to your videos.
Controlling Lighting Conditions
Controlling the lighting conditions in your environment is essential for achieving consistent and professional-looking videos.
Minimizing Ambient Light
Ambient light refers to the existing light in your environment that is not part of your lighting setup. While some ambient light can be desirable, too much or inconsistent ambient light can affect the overall quality and color balance of your videos.
To minimize ambient light, close curtains or blinds to darken the room. If shooting outdoors, find shaded areas or film during the “golden hours” when the sunlight is softer and more flattering.
By reducing the influence of ambient light, you can have more control over your lighting setup and ensure consistent results.
Using Black Flags and Gobos
Black flags and gobos are tools used to block or control the spread of light in your videos. They are typically made of black fabric or boards and can be positioned strategically to prevent light spill and unwanted reflections.
Black flags can be used to create a shadow or block light from hitting certain areas. Gobos, on the other hand, are cutouts or patterns that are placed in front of the light to create interesting shadows or shapes.
Experiment with black flags and gobos to enhance the visual composition of your videos and control the lighting conditions.
Controlling Light Spill
Light spill occurs when the light spills outside of the desired area, creating unwanted reflections or shadows. Controlling light spill is crucial for maintaining a clean and professional look in your videos.
To control light spill, position flags or gobos to block or redirect the light. Adjust the angle and distance of your lights to minimize unwanted reflections or shadows, and use diffusers or bounce lights to create a more controlled and confined illumination.
Be mindful of the surfaces in your environment and how they reflect or absorb light, as they can also contribute to light spill.
Avoiding Flicker from Non-Continuous Lighting
Some artificial lights, such as fluorescent or LED lights, operate using rapid on/off cycles, known as flicker. Flicker can result in inconsistent lighting conditions and appear as unwanted flashing or pulsating in your videos.
To avoid flicker, ensure that the lights you use have a high enough frequency or are specifically designed for video production. Additionally, synchronize your camera’s frame rate with the frequency of the lights to minimize flicker.
If flicker is still present, consider adjusting the shutter speed or using post-processing software to correct it.
By controlling the lighting conditions in your environment, you can ensure consistent and high-quality videos that capture your intended vision.
Creating a Mood with Lighting
Lighting is a powerful tool for creating and enhancing the mood in your videos. By understanding how different lighting techniques and effects can influence the atmosphere, you can effectively convey your storytelling and engage your audience.
Using Warm or Cool Lighting
The color temperature of lighting can significantly impact the mood and emotion of your videos. Warm lighting with a lower color temperature (around 3200K) can create a cozy and intimate atmosphere, often associated with comfort and nostalgia.
On the other hand, cool lighting with a higher color temperature (around 5600K) can evoke a sense of energy and tension. It is commonly used to enhance the drama and dynamic elements in a video.
Consider the mood you want to convey and experiment with different color temperatures to create the desired emotional impact.
Playing with Shadows and Highlights
Shadows and highlights can add depth and visual interest to your videos. By strategically placing lights and adjusting their intensity, you can create dynamic shadows and highlights that enhance the storytelling.
Experiment with different angles and positions for your lights to cast interesting shadows that contribute to the overall composition. Consider how the shadows interact with the subject and the surrounding environment to create visually engaging scenes.
Adding Color Effects
In addition to color temperature, adding color effects with gels or lighting filters can dramatically alter the mood and atmosphere of your videos. Using colored lights or gels can create a more stylized and artistic look.
For example, using blue lighting or gels can evoke a sense of calmness or mystery, while red lighting can convey excitement or danger. Experiment with different colors and their combinations to add visual interest and enhance the storytelling in your videos.
Using Lighting to Enhance the Storytelling
Lighting is a powerful storytelling tool that can be used to highlight key moments, create contrast, and guide the viewer’s attention. By understanding the narrative of your video, you can strategically use lighting to enhance the story and engage your audience.
For dramatic or emotional scenes, consider using high-contrast lighting with deep shadows and bright highlights. For more intimate or reflective moments, soft and diffused lighting can create a more introspective atmosphere.
Experiment with different lighting techniques and effects to find the best ways to enhance your storytelling and capture the emotions and messages you want to convey.
Simplifying Lighting for Mobile Video
Creating high-quality videos on your mobile device is now more accessible than ever. Here are some tips to simplify the lighting setup for mobile video production.
Optimizing Camera Exposure and ISO
Mobile devices often have auto exposure and ISO settings that adjust automatically based on the lighting conditions. However, these settings may not always produce the desired results.
To optimize camera exposure, consider manually adjusting the exposure or using exposure lock to ensure consistent lighting throughout your shots. Adjusting the ISO settings can also help control the sensitivity of the camera sensor and achieve better image quality in low-light situations.
Take the time to familiarize yourself with your mobile device’s camera settings and experiment with different exposure and ISO settings to achieve the desired lighting effects.
Using Portable LED Lights
Portable LED lights are a convenient lighting solution for mobile video production. These lights are lightweight, compact, and often offer adjustable brightness and color temperature, allowing you to customize the lighting conditions.
Attachable LED lights, such as clip-on ring lights or external light panels, can be easily mounted onto your mobile device or held by a separate mount. They provide additional lighting and help create a more flattering illumination for your videos.
Utilizing Natural Light Sources
When shooting with your mobile device, take advantage of natural light sources whenever possible. Position yourself near windows or in outdoor locations with ample natural light to achieve a soft and pleasing illumination.
Observe how the natural light interacts with your subject and adjust your positioning and angle accordingly. If necessary, use reflectors or diffusers to shape the light and achieve the desired lighting effect.
Making the Most of the Environment
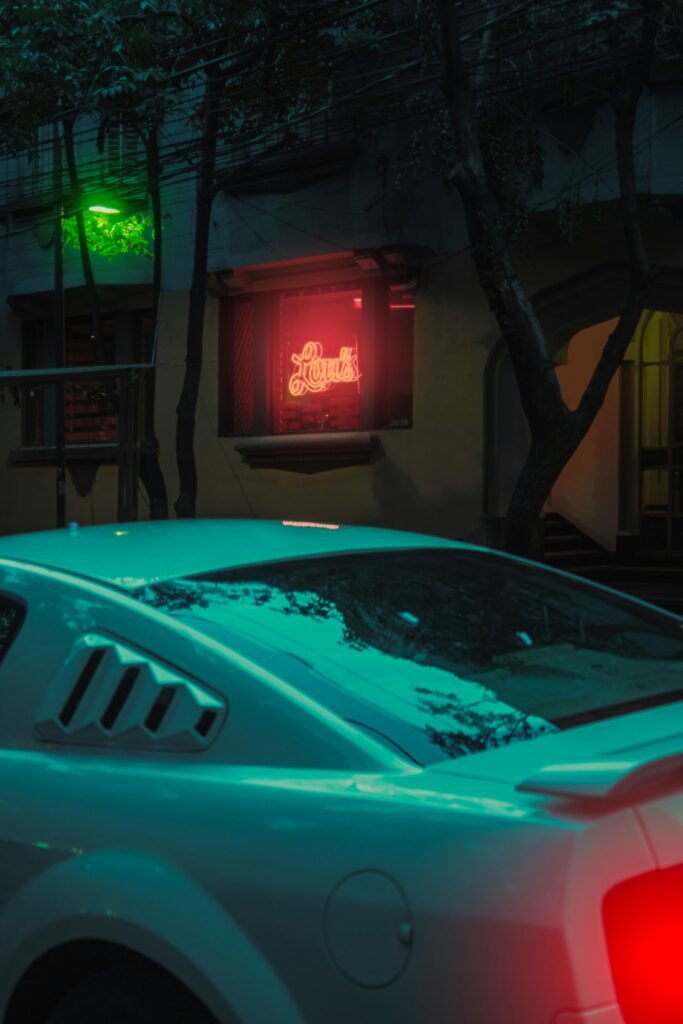
When shooting mobile videos, be mindful of your environment and how it can contribute to the lighting conditions. Look for interesting light sources, such as lamps, streetlights, or neon signs, that can add visual interest and create unique lighting effects in your videos.
Experiment with different locations and backgrounds to find the best lighting ambience for your shots. The environment can provide you with natural lighting setups and atmospheric lighting effects that contribute to the overall quality of your videos.
By simplifying the lighting setup and utilizing the features of your mobile device, you can create high-quality videos without the need for extensive equipment or complex lighting setups.
Avoiding Common Lighting Mistakes
To ensure your videos look professional and visually appealing, it’s important to avoid common lighting mistakes that can distract or detract from the overall quality.
Too Much or Too Little Light
Properly balancing the lighting intensity is crucial for achieving the desired mood and preventing overexposed or underexposed areas in your videos. Too much light can create harsh shadows and blow out the details, while too little light can result in a grainy or dark image.
Regularly check the exposure levels and adjust the lighting intensity or camera settings accordingly to maintain a balanced and well-lit scene.
Improperly Placed Shadows
Shadows can add depth and visual interest, but they need to be carefully placed and controlled to avoid distracting or unflattering effects. Improperly placed shadows can hinder the visibility of the subject or create unwanted distractions.
Take the time to observe how the position and angle of the lights create shadows. Adjust the lights or use reflectors to fill in or redirect the shadows, ensuring that they enhance the composition and do not detract from the main subject.
Inconsistent Lighting
Consistency is key when it comes to lighting in videos. Inconsistent lighting can create a disjointed or amateurish look, making it difficult for viewers to focus on the content.
Ensure that your lighting setup remains consistent throughout your shots by using the same types of lights, maintaining the same color temperature, and avoiding drastic changes in intensity or positioning. Pay attention to any changes in ambient light as well, and make the necessary adjustments to maintain consistent lighting conditions.
Mixing Light Color Temperatures
Mixing different light color temperatures in the same scene can create a visually confusing and unprofessional look. It can result in color imbalances and make it challenging to achieve accurate and consistent colors.
Whenever possible, use lights with the same color temperature to maintain a cohesive and balanced lighting setup. If you must mix different color temperatures, be aware of the color contrasts and consider using gels or adjusting the white balance settings to minimize the visual discrepancies.
By avoiding these common lighting mistakes, you can elevate the quality of your videos and create a more engaging and visually pleasing experience for your viewers.
Using Lighting to Construct Visual Hierarchy
Lighting can be used to construct visual hierarchy in your videos, guiding the viewer’s attention and emphasizing important elements within the frame.
Directing Attention with Brightness
Brightness is one way to direct the viewer’s attention to specific areas of the frame. By making certain elements brighter or more illuminated than others, you can draw the viewer’s eye and highlight important details.
For example, use a brighter key light to illuminate the main subject, while keeping other elements in the frame slightly dimmer. This contrast in brightness will naturally attract the viewer’s attention to the subject.
Consider the story or message you want to convey and experiment with different lighting intensities to construct visual hierarchy and emphasize the most significant elements.
Creating Depth with Light and Shadows
Light and shadows can be used to create depth and dimension within your videos. By carefully positioning lights and manipulating the shadows, you can add a three-dimensional quality to the scene.
Use the key light to create a primary light source, casting shadows that add depth to your subject. Consider placing a backlight or hair light to separate the subject from the background, creating visual depth and separation.
Experiment with different lighting setups and angles to enhance the depth within your videos and create a more engaging visual experience.
Enhancing Subject Separation
Subject separation refers to the visual distinction between the subject and the background. By utilizing lighting techniques, you can enhance the separation and ensure that the subject stands out prominently.
Using a backlight or hair light behind the subject can create a rim of light around their silhouette, effectively separating them from the background. Adjust the intensity of the backlight to achieve the desired separation and emphasize the subject.
Additionally, consider using lighting modifiers such as flags and gobos to control the spread of light and prevent unwanted light spill onto the background.
By strategically using lighting to construct visual hierarchy, you can guide the viewer’s attention and create a more visually compelling narrative within your videos.
Experimenting and Finding Your Style
Experimentation is key to finding your personal lighting style and creating unique and visually captivating videos.
Exploring Different Lighting Setups
Don’t be afraid to explore different lighting setups and techniques to find what works best for your videos. Each scene or project may require a different lighting approach, and by experimenting, you can discover the setups that produce the desired effect.
Take the time to try out different lighting equipment, color temperatures, and positions. By doing so, you’ll develop a better understanding of how light interacts with your subjects and the various effects you can achieve.
Understanding Lighting Techniques
Understanding different lighting techniques can greatly expand your creative possibilities and help you achieve specific lighting effects.
Research and practice different techniques such as Rembrandt lighting, butterfly lighting, or split lighting. Each technique offers a unique lighting pattern and can create distinct moods and atmospheres in your videos.
By familiarizing yourself with various lighting techniques, you’ll be able to apply them creatively to suit your storytelling needs.
Developing a Personal Lighting Style
Through experimentation and practice, you’ll begin to develop your personal lighting style. This style represents your unique artistic vision and becomes a defining aspect of your videos.
Pay attention to your preferences and the lighting styles that resonate with you. Experiment with different color temperatures, lighting positions, and intensity to create a signature lighting style that sets your videos apart.
Remember that developing your style is an ongoing process, and it may evolve over time as you gain more experience and refine your artistic vision.
In conclusion, lighting plays a crucial role in creating high-quality videos. By understanding different types of lights, mastering lighting techniques, and experimenting with various setups, you can achieve professional-looking results that enhance your storytelling and captivate your audience. With practice and a keen eye for detail, you can develop your unique lighting style and create visually compelling videos that leave a lasting impression.
