Are you looking to enhance your studio photography skills? Look no further! In this article, we will provide you with essential tips that will help you master the art of studio photography lighting. Whether you’re a beginner or an experienced photographer, these tips will enable you to create stunning and professional-looking photographs. From understanding light sources to positioning your subjects, we’ve got you covered. So, grab your camera and let’s dive into the world of studio photography lighting!

Understanding Studio Lighting Equipment
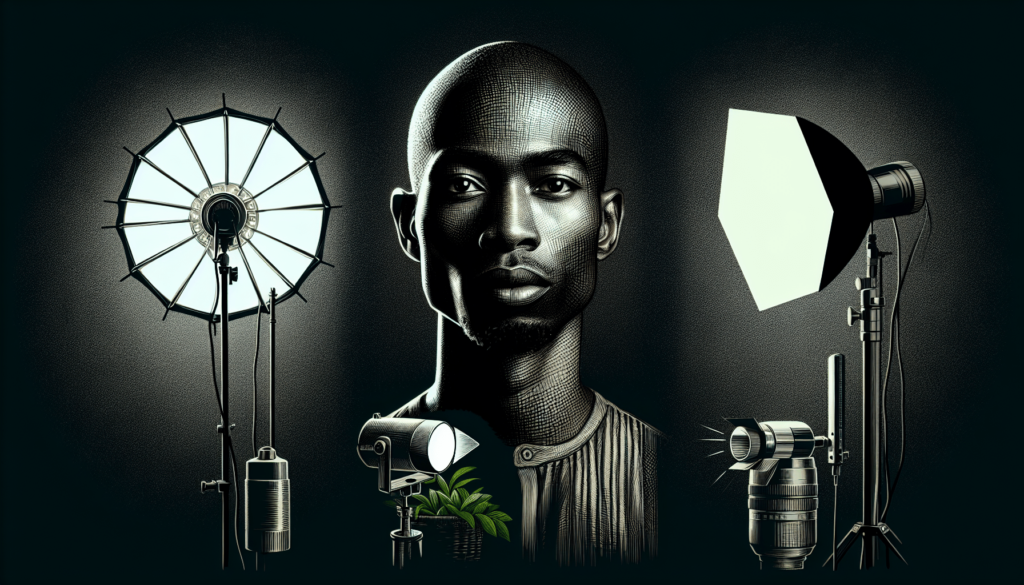
Studio lighting equipment is essential for achieving professional-looking photographs. There are different types of lighting equipment available in the market, each serving a specific purpose. Understanding these equipment options will help you choose the right setup for your needs.
Different types of studio lighting equipment
-
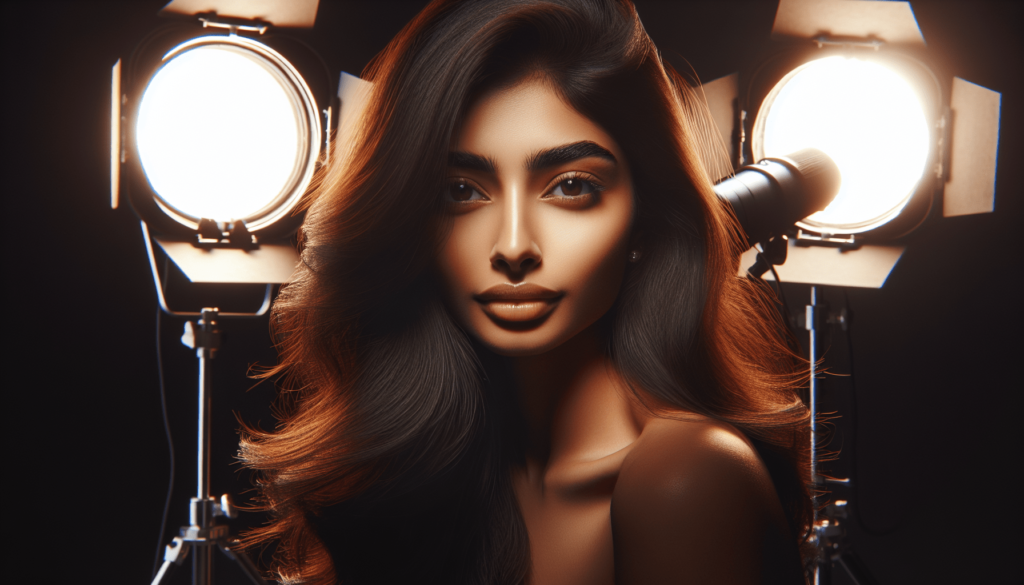
Strobe Lights: Strobe lights are powerful and versatile lighting units that emit a burst of light when triggered. They provide consistent and adjustable light output, making them ideal for studio settings.
-
Continuous Lights: Continuous lights emit a constant light source, allowing you to see the effects of the lighting in real-time. They are commonly used in video production, but can also be used in photography.
-
LED Lights: LED lights are energy-efficient and produce minimal heat. They come in various sizes and are suitable for both photography and videography.
-
Modifiers: These are accessories that can shape, control, and modify the light produced by your studio lights. Examples include softboxes, umbrellas, and reflectors.
Choosing the right equipment for your needs
When selecting studio lighting equipment, consider factors such as your budget, the type of photography you specialize in, and the available space in your studio. Strobe lights are a popular choice for their versatility, while continuous lights offer convenience in terms of real-time visibility. LED lights are a good option if energy efficiency is a priority. Consider experimenting with different modifiers to achieve the desired lighting effects.
Understanding lighting modifiers and their effects
Modifiers play a crucial role in shaping the quality and direction of light. Here are some common modifiers used in studio photography:
-
Softboxes: Softboxes produce soft and diffused light, mimicking natural window light. They help create flattering portraits and evenly distribute light across the subject.
-
Umbrellas: Umbrellas are versatile modifiers that can be used to both bounce and shoot-through the light. They provide a wide spread of light and can be adjusted for desired softness.
-
Reflectors: Reflectors bounce light back onto the subject, filling in shadows and adding a subtle glow. They come in various colors and materials, allowing you to control the quality and intensity of light.
-
Snoots and Grids: Snoots and grids narrow down the light beam, creating a spotlight effect. They are useful for highlighting specific areas or subjects in your photographs.
Understanding the effects of different modifiers and experimenting with their positioning will help you achieve the desired lighting results in your studio photography.
Mastering Three-Point Lighting Technique
Three-point lighting is a fundamental technique that involves using three lights, namely the key light, fill light, and backlight, to create a balanced and visually appealing illumination.
Key light: Definition and placement
The key light is the main light source in your setup and serves as the primary source of illumination for your subject. It typically provides the most intensity and controls the overall mood and shadows in your photograph. The key light is usually placed at a 45-degree angle to the subject, slightly above eye level.
Fill light: Purpose and positioning
The fill light helps fill in shadows created by the key light, providing more even illumination. Its intensity is generally lower than that of the key light to create a pleasing balance of light and shadow. The fill light is commonly placed on the opposite side of the key light, also at a 45-degree angle.
Backlight: Creating separation and depth
The backlight, also known as the hair light or rim light, adds depth and separation between the subject and the background. It is positioned behind the subject, pointing towards the back of their head or shoulders. The backlight helps create a visually appealing highlight along the subject’s edges.
Balancing the intensity and direction of lights
To achieve a well-balanced three-point lighting setup, it’s important to consider the intensity and direction of each light. The key light should generally be the brightest, while the fill light provides a softer and more diffused illumination. The backlight helps add depth and separation without overpowering the other lights. Experimenting with the positioning and intensity of each light will allow you to achieve your desired lighting effects.

Using Light Reflectors and Diffusers
Light reflectors and diffusers are essential tools for modifying and controlling the quality of light in your studio setup. They allow for subtle adjustments to soften shadows, reduce harshness, and redirect light.
Utilizing reflectors to bounce and redirect light
Reflectors come in various shapes, sizes, and materials, such as silver, gold, white, or translucent fabrics. By bouncing light onto the subject, reflectors help fill in shadows and provide additional illumination. Silver reflectors produce a cooler and more neutral reflection, while gold reflectors add warmth to the light.
Diffusing light to soften shadows and reduce harshness
Diffusers, such as softboxes or diffuser panels, help scatter and soften light, resulting in a more even illumination. They are particularly useful when photographing subjects with sensitive skin or when aiming for a softer, more flattering look. Diffusers can be used in conjunction with reflectors to achieve the desired lighting effect.
Different types and materials of reflectors and diffusers
Reflectors and diffusers come in a variety of sizes and materials to suit different needs. Some commonly used materials include cloth, plastic, and synthetic fabrics. Each material has its own reflective or diffusing properties, allowing you to fine-tune the lighting effect according to your preferences.
Strategically positioning reflectors and diffusers
The positioning of reflectors and diffusers plays a crucial role in shaping the direction and quality of light. Experiment with different positions and angles to achieve the desired lighting results. Reflectors can be placed opposite the key light to bounce light back onto the subject, while diffusers can be positioned in front of the light source to soften and scatter the light.
Playing with Colored Lighting
Colored lighting adds a creative and dynamic element to your studio photography. Understanding the psychology and impact of colors, as well as how to use colored gels effectively, will allow you to experiment with different moods and atmospheres.
Understanding the psychology and impact of colors
Colors evoke emotions and create different moods in photographs. Warm colors such as red, orange, and yellow can convey warmth, energy, and excitement, while cool colors like blue and green can evoke a sense of calmness or serenity. Understanding the psychological impact of colors will help you choose the appropriate lighting setup for your desired mood or atmosphere.
Using colored gels to alter the mood and atmosphere
Colored gels are thin pieces of colored transparent material that can be placed in front of your studio lights to cast a colored light on your subject. They are available in various colors and shades, allowing you to experiment with different creative lighting effects. Colored gels can completely transform the mood and atmosphere of your photographs.
Experimenting with different color combinations
Don’t be afraid to experiment with different color combinations to create unique and visually stunning images. Certain color combinations, such as complementary colors (opposite colors on the color wheel), can create a more striking and visually appealing effect. Play around with various gel combinations and their positioning to achieve the desired color balance and impact.
Avoiding color casts and maintaining skin tones
When working with colored lighting, it’s important to pay attention to color casts and skin tones. Colored gels can sometimes affect the natural skin tones of your subjects, resulting in an unnatural or unflattering appearance. To avoid this, consider using color correction techniques or adjusting the white balance settings on your camera to maintain accurate and pleasing skin tones.

Creating Dramatic Shadows and Highlights
Shadows and highlights play a vital role in creating drama, texture, and depth in your studio photographs. Understanding how to use different lighting techniques to manipulate shadows and highlights effectively will elevate the visual impact of your images.
Using hard vs. soft light for shadow and highlight contrast
Hard light sources, such as direct sunlight or a focused spotlight, create strong and defined shadows, emphasizing texture and creating a sense of drama. Soft light sources, on the other hand, produce gentler shadows and highlights, resulting in a more even and subtle effect. Experimenting with both hard and soft light sources will allow you to achieve the desired balance between shadows and highlights.
Controlling the angle and direction of light for desired effects
The angle and direction of light have a significant impact on the appearance of shadows and highlights. Adjusting the angle and direction of your lights can dramatically change the mood and overall look of your photographs. For example, sidelighting from a low angle can create long and dramatic shadows, while overhead lighting can flatten the subject and minimize shadows.
Enhancing texture and depth through shadow play
Shadows can be used creatively to enhance the texture and depth of your subjects. By selectively controlling the lighting and positioning, you can create interesting patterns and shapes through shadow play. Experiment with different lighting angles and modifiers to achieve the desired shadow effects that add visual interest to your images.
Avoiding overexposure and loss of detail in highlights
When working with dramatic lighting setups, it’s essential to prevent overexposure and loss of detail in the highlights. This can be achieved by carefully adjusting the intensity and position of your lights. Keep an eye on the histogram and ensure that the highlights are not clipped, losing important information. Overexposed highlights can result in a loss of texture and detail in the brighter areas of your photographs.
Utilizing Light Meters and Histograms
Light meters and histograms are valuable tools for achieving accurate exposure and understanding the tonal range in your photographs. By effectively using these tools, you can refine your lighting setups for better results.
Understanding the importance of accurate light metering
Proper light metering is crucial for obtaining accurate exposure in your photographs. Light meters measure the intensity of light and provide readings that help you determine the optimal exposure settings for your camera. Reliable light metering ensures that your subject is well-lit, shadows are controlled, and highlights are properly exposed.
Calibrating and using light meters effectively
To ensure accurate light meter readings, it’s important to calibrate your light meter according to the specific lighting conditions in your studio. Follow the manufacturer’s instructions to calibrate your light meter properly. Once calibrated, use the light meter to measure the intensity of the light falling on your subject or specific areas of your frame. Adjust your camera settings accordingly to achieve the desired exposure.
Interpreting histograms to evaluate exposure
Histograms provide a visual representation of the tonal range in your photographs. They display the distribution of pixel intensities, ranging from shadows on the left side to highlights on the right side. By analyzing histograms, you can identify if your image is underexposed, overexposed, or well-balanced in terms of exposure. Use the histogram as a guide to adjust your lighting setup or camera settings for optimal exposure.
Adjusting lighting setups based on feedback from meters and histograms
Use the information gathered from light meters and histograms to make informed decisions about your lighting setups. If the light meter indicates an underexposed or overexposed scene, you can adjust the intensity of your lights or reposition them to achieve a better exposure. Similarly, studying the histogram can help you identify areas with clipping or lack of detail, allowing you to fine-tune your lighting setup for better tonal range.

Experimenting with Different Light Setups
While traditional studio lighting setups such as Rembrandt, butterfly, and clamshell are effective, don’t be afraid to venture into unconventional lighting setups to add mood and character to your photographs.
Classic studio lighting setups (Rembrandt, butterfly, clamshell, etc.)
Classic studio lighting setups have been used for ages and are the foundation of many professional portraits. The Rembrandt lighting setup creates a triangle-shaped light on one side of the subject’s face, while the butterfly lighting setup features a centrally placed key light with a distinctive butterfly-shaped shadow just below the subject’s nose. The clamshell lighting setup involves placing a key light above the subject and a fill light below, resulting in even illumination and minimal shadows. Experimenting with these classic setups will help you understand the nuances of lighting and how they impact your subjects.
Creating mood and character with unconventional setups
Unconventional setups allow you to break away from traditional lighting patterns and add a unique touch to your images. By playing with different angles, multiple lights, and creative modifiers, you can infuse your photographs with personality and visual interest. Experiment with side lighting, rim lighting, or even using props to cast interesting shadows and highlights on your subjects. Don’t be afraid to think outside the box and explore new lighting possibilities.
Using multiple light sources to achieve unique effects
Using multiple light sources can add depth, dimension, and creativity to your studio images. By incorporating different types of lights and modifiers, you can create striking effects that enhance the overall aesthetic of your photographs. Experiment with combining soft and hard lights, gels, and different angles to achieve the desired visual impact. Multiple light sources also allow for greater control over shadows and highlights, enabling you to shape the overall mood of your images.
Infusing creativity by breaking traditional lighting rules
Creativity often thrives when rules are broken. While it’s important to learn and understand traditional lighting techniques, don’t be afraid to experiment and break the rules to achieve the desired effect. Challenge yourself to try unconventional lighting positions, experiment with different modifiers or gels, and embrace the unexpected. Embracing creativity and breaking traditional lighting rules can lead to unique and memorable photographs.
Avoiding Common Lighting Mistakes
Studio lighting requires precision and attention to detail to avoid common mistakes that can significantly impact the quality of your photographs. By being aware of these pitfalls, you can ensure that your lighting setups are flawless.
Overexposure and blown-out highlights
Overexposure occurs when the intensity of light exceeds the camera’s dynamic range, resulting in loss of detail in the highlights. This can happen if your lights are too bright or positioned incorrectly. To avoid overexposure, regularly check your camera’s histogram and reduce the intensity of your lights if necessary. Balancing the light sources and adjusting the distance from the subject can help achieve proper exposure and preserve highlight details.
Underexposure and excessive shadows
Underexposure occurs when your image is too dark, with insufficient light in the scene. This can happen if your lights are not powerful enough or if the positioning is incorrect. To avoid underexposure, check your camera’s histogram and increase the intensity of your lights if needed. Additionally, adjusting the placement of your lights to fill in shadows can help achieve proper exposure and eliminate excessive shadows.
Unintended reflections and hotspots
Unintended reflections and hotspots can occur when light bounces off reflective surfaces within the frame, creating distracting reflections or bright spots. To avoid this, carefully position your lights and modifiers to minimize unwanted reflections. Take note of reflective surfaces such as glasses, metallic objects, or glossy materials, and adjust the lighting setup accordingly. It may be necessary to use diffusers or adjust the angle of your lights to prevent hotspots.
Inconsistent color temperature and white balance
Inconsistent color temperature can result in unnatural and unappealing color casts in your photographs. Different light sources can have varying color temperatures, resulting in a mix of warm and cool tones. To ensure consistent color temperature, use the same type of lights or adjust the white balance settings on your camera. It’s also important to be aware of colored gels and their impact on the color temperature, adjusting other lights to match the gel color if necessary.

Considering the Impact of Background Lighting
The lighting of the background in your studio photography plays a significant role in the overall composition and impact of your images. Paying attention to background lighting techniques will help you create visually compelling photographs.
Different methods to light a background
There are several methods to light a background effectively. One common approach is to use dedicated background lights, which can be positioned behind or to the sides of the subject. These lights illuminate the background separately from the subject, giving it a distinct look. Alternatively, you can position your key light or other lights to create some spill onto the background, providing a more integrated lighting effect.
Creating separation between the subject and background
Creating separation between the subject and background is essential to avoid a flat and uninteresting look. By lighting the subject separately from the background, you can establish depth and three-dimensionality in your photographs. The use of a backlight or hair light can help create a clear distinction between the subject and the background, drawing attention to the subject and adding visual interest.
Using gels and techniques to add interest to the background
To add interest and creativity to the background, consider using colored gels or techniques such as gobos or patterned filters. Colored gels can cast a specific hue on the background, while gobos or patterned filters can create interesting textures or shapes. Experiment with different lighting setups and background accessories to achieve the desired effect and enhance the overall visual impact of your photographs.
Maintaining balance between subject and background lighting
While it’s important to consider the impact of background lighting, it’s equally crucial to maintain a balance between the lighting on the subject and the background. The subject should remain the main focus of your image, and the background lighting should complement rather than overpower the subject. Adjust the intensity of your lights or the distance from the subject to achieve the desired balance and ensure that the subject remains the primary focal point.
Continuously Learning and Experimenting
Photography is an art form that constantly evolves, and continuous learning and experimentation are key to growing as a photographer. Here are some tips to enhance your lighting skills and develop your own signature style.
Keeping up with the latest lighting trends and techniques
Stay updated with the latest lighting trends and techniques by following industry blogs, watching educational videos, attending workshops, or joining photography communities. The world of photography is always evolving, and staying informed about new lighting equipment, modifiers, or lighting techniques will help expand your knowledge and inspire creativity in your work.
Learning from other photographers and industry experts
Learning from other photographers and industry experts is invaluable in advancing your lighting skills. Engage with photographers whose work you admire, attend seminars or workshops conducted by experienced professionals, or seek mentorship opportunities. Observing and understanding the lighting techniques used by others can inspire new ideas and help you refine your own lighting style.
Experimenting with different setups and styles
Experimentation is essential for growing as a photographer and finding your own unique style. Don’t be afraid to step out of your comfort zone and try new lighting setups, modifiers, or color combinations. Embrace trial and error, learn from both successful and unsuccessful experiments, and use these experiences to refine your lighting skills and develop a style that is truly your own.
Developing a signature lighting style
As you gain experience and continue to experiment, you will develop a signature lighting style that sets your work apart. A signature lighting style embodies your artistic vision, the way you use light to convey emotions, and the consistency in your lighting choices across your body of work. Developing a signature lighting style requires time, practice, and a deep understanding of the interplay between light, composition, and subject matter.
In conclusion, understanding studio lighting equipment, mastering three-point lighting technique, utilizing light reflectors and diffusers, playing with colored lighting, creating dramatic shadows and highlights, utilizing light meters and histograms, experimenting with different light setups, avoiding common lighting mistakes, considering the impact of background lighting, and continuously learning and experimenting are all essential aspects to improve your studio photography lighting skills. By incorporating these tips into your practice and embracing creativity, you will be well on your way to capturing stunning and visually engaging photographs.


