Are you tired of dark and dull photos? Do you want to take your photography skills to the next level and capture stunning shots every time? Look no further! In this article, you will discover essential tips that will light up your photography. From understanding the importance of lighting to learning how to manipulate natural and artificial light sources, these expert techniques will transform your images into works of art. Get ready to unlock the secrets behind captivating photos and elevate your photography game to new heights.
Understanding lighting
Lighting plays a crucial role in photography, as it can drastically affect the quality and mood of your shots. Whether you’re shooting indoors or outdoors, understanding different types of lighting and how to utilize them can help you capture stunning images. In this guide, we will explore various aspects of lighting in photography, including natural light, artificial light, the importance of lighting, and techniques for mastering exposure and creating depth and dimension.
Types of natural light
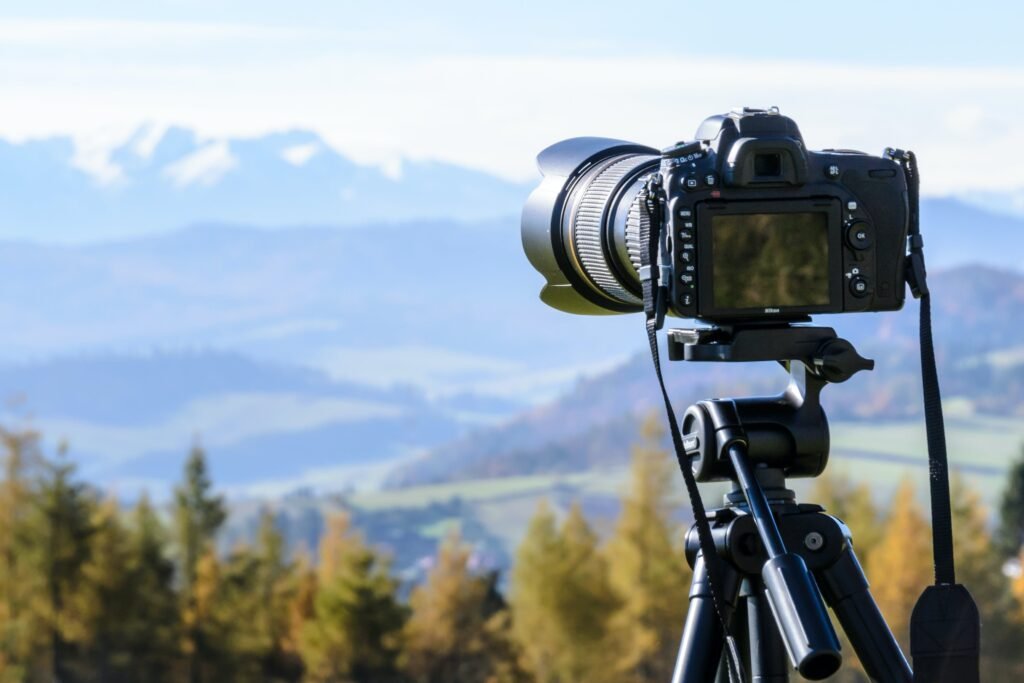
Natural light refers to the illumination provided by the sun during daylight hours. It is abundant, free, and offers a range of qualities depending on the time of day and weather conditions. Understanding the different types of natural light can help you make informed decisions when framing your shots.
Golden hour photography
The golden hour is the period shortly after sunrise or before sunset, characterized by warm, soft, and diffused lighting. During this time, the sun is lower in the sky, causing the light to travel through more of the Earth’s atmosphere, which results in richer colors and softer shadows. Golden hour photography is highly sought after for its ability to create a magical and dreamy atmosphere in images.
Diffusing harsh sunlight
When shooting in direct sunlight, the light can be harsh and create harsh shadows and high contrast in your photos. To mitigate these issues, you can use diffusers to soften the light and create a more flattering and even illumination. Diffusers are translucent materials that are placed between the subject and the light source, scattering the light and reducing its intensity. You can use specialized diffusers or even a white sheet or umbrella to achieve this effect.
Using reflectors for fill light
Reflectors are a simple yet effective tool for manipulating natural light. They bounce the sunlight back onto your subject, filling in shadows and adding a flattering glow. Reflectors come in different colors and finishes, allowing you to adjust the quality and color of the bounced light. Silver reflectors provide a cooler tone, while gold reflectors add warmth. Experimenting with reflectors can help you achieve a balanced and well-lit image.
Types of artificial light
In addition to natural light, photographers often utilize artificial light sources to enhance their images. Artificial light offers greater control over lighting conditions, making it ideal for indoor photography or when natural light is not available or suitable.
Choosing the right lighting equipment
When it comes to artificial light, there are various lighting equipment options to consider. Continuous lighting, such as LED panels or tungsten lights, provides a constant source of illumination and allows you to see the effects in real-time. On the other hand, flash photography utilizes brief bursts of light produced by speedlights or strobe lights. Both types of lighting have their advantages and can be used effectively depending on the desired outcome.
Setting up a basic studio
Creating a studio environment allows you to have complete control over lighting conditions. To set up a basic studio, you will need a backdrop, lighting stands, and light modifiers. Positioning the lights properly and experimenting with their placement will help you achieve the desired lighting effects. Additionally, you can use props and accessories to enhance the overall aesthetics of your shots.
Using light modifiers
Light modifiers are essential tools for shaping and controlling artificial light. They can diffuse, soften, or direct the light to achieve specific effects. Some commonly used light modifiers include softboxes, umbrellas, grids, and snoots. Each modifier produces a distinct result, allowing you to customize the lighting to match your creative vision.
Understanding white balance
When working with artificial light, it is crucial to understand white balance. Different lighting sources have different color temperatures, which can affect the overall color cast in your photos. Adjusting the white balance ensures accurate color reproduction. You can set the white balance manually or use auto white balance, but being aware of the lighting conditions and making adjustments accordingly can significantly improve your results.
Mastering exposure
Exposure refers to the amount of light that reaches the camera sensor. Achieving proper exposure is vital for capturing well-balanced and detailed images. Understanding the exposure triangle, which consists of shutter speed, aperture, and ISO, is crucial for mastering exposure.
Understanding the exposure triangle
The exposure triangle is a concept that defines the relationship between shutter speed, aperture, and ISO. These three elements work together to determine the overall exposure of your image.
Controlling shutter speed
Shutter speed refers to the length of time the camera’s shutter remains open. It determines the amount of light that enters the camera and affects the motion blur in your photos. Faster shutter speeds freeze motion, while slower speeds allow for longer exposures and the capture of motion blur. Experimenting with different shutter speeds can help you capture unique and dynamic shots.
Adjusting aperture
Aperture, also known as the f-stop, controls the amount of light entering the camera through the lens. It also determines the depth of field, or the range of sharpness in a photo. Large apertures (smaller f-stop numbers) allow more light and create a shallow depth of field, resulting in a blurred background and a focused subject. Small apertures (larger f-stop numbers) allow less light and increase the depth of field, keeping more of the scene in focus.
Setting the appropriate ISO
ISO refers to the sensitivity of the camera sensor to light. A low ISO setting, such as ISO 100, is ideal for well-lit conditions, while a high ISO, like ISO 800 or above, is suitable for low-light situations. However, higher ISO values can introduce digital noise, so finding the balance between capturing enough light and maintaining image quality is crucial.
Creating depth and dimension
Capturing depth and dimension in your photos can add a sense of realism and visual interest. Proper lighting techniques can help you achieve this effect.
Using shadows strategically
Shadows can add depth, drama, and dimension to your images. By utilizing strategic lighting placement, you can create interesting shadow patterns that enhance the overall composition. Experiment with different light angles and intensities to achieve the desired effect.
Adding backlight for separation
Backlighting is the technique of placing the light source behind your subject. This creates a rim of light around the edges, separating the subject from the background and adding depth to the image. Backlighting can be particularly striking when capturing silhouettes or shooting against translucent objects.
Creating a sense of depth with lighting
Lighting can be used to create an illusion of depth in a two-dimensional medium. By emphasizing the lighting on different planes within the image — foreground, midground, and background — you can create a sense of depth and draw the viewer’s eye into the scene. Proper positioning and manipulation of light can often make a flat image appear more dynamic and three-dimensional.
Understanding color temperature
Color temperature refers to the color of light, ranging from warm to cool. Different light sources emit light with varying color temperatures, which can impact the mood and overall tone of your images.
Warm vs. cool lighting
Light sources with a warmer color temperature, such as candlelight or tungsten bulbs, produce a yellowish-orange tone and create a cozy and intimate atmosphere. On the other hand, cooler light sources, like fluorescent or daylight, emit a bluish tone and create a crisp and refreshing look. Understanding the impact of color temperature can help you convey the desired mood in your photographs.
Using color gels for creative effects
Color gels are transparent colored sheets that are placed in front of the light source to alter the color temperature of the light. They allow you to create unique and creative effects by adding a pop of color to your photos. Experimenting with different color combinations can help you add drama and visual interest to your images.
Correcting white balance in post-processing
In cases where the white balance was not accurately set during shooting, or when mixed lighting was present, you can correct the white balance in post-processing. Most photo editing software offers tools to adjust the white balance and bring the colors back to their accurate representation. Correcting white balance in post-processing ensures that your images look as intended, even if the lighting conditions were challenging.
Mastering flash photography
Flash photography can be intimidating for beginners, but with some knowledge and practice, you can effectively utilize flash to enhance your images.
Avoiding harsh flash
One common issue with flash photography is the harsh and unflattering light it can produce. To avoid this, you can diffuse the flash using a softbox or bounce it off a surface such as a wall or ceiling. By dispersing the light or bouncing it, you can achieve softer, more even lighting and eliminate the harsh shadows often associated with direct flash.
Bouncing flash for softer light
Bouncing the flash involves redirecting the light to bounce off a surface before reaching the subject. This technique softens the light, reduces harsh shadows, and creates a more natural and flattering illumination. Experiment with different bounce angles and surfaces to find the most pleasing results.
Syncing flash with shutter speed
When using flash, it is important to synchronize the flash with the camera’s shutter speed to avoid issues such as overexposure or black bars in your images. Depending on your camera and flash system, you may need to adjust the flash settings and sync options. Consult your camera’s manual or flash documentation for specific guidance on achieving proper flash synchronization.
Creating dramatic lighting
Dramatic lighting can add impact and intensity to your photographs. By manipulating the light sources, you can create visually striking images.
Using low-key lighting techniques
Low-key lighting involves using minimal light sources and deliberately placing them to create areas of intense light and deep shadows. This technique is often associated with moody and dramatic images. By carefully controlling where the light falls and emphasizing shadows, you can produce captivating and atmospheric photos.
Experimenting with high-key lighting
High-key lighting, in contrast to low-key lighting, involves using bright, even illumination to create a light and airy atmosphere. This technique is commonly used in portrait and product photography, as it draws attention to the subject and creates a clean and fresh look. By evenly lighting the scene and avoiding deep shadows, you can achieve a high-key effect.
Using hard and soft light sources
The quality of light can have a significant impact on the overall mood and feel of your images. Hard light creates distinct, sharp shadows and high contrast, while soft light produces subtle shadows and a more diffused illumination. Experimenting with different light sources, such as direct light or diffused light through modifiers, can help you achieve the desired effect for your photographs.
Working with available light
In many situations, you may need to rely on available light sources to capture your images. Understanding how to find and utilize the best available light can significantly enhance your photography.
Finding the best natural light sources
When shooting outdoors, it is essential to identify the best natural light sources to create well-lit and visually appealing images. Look for open shade, which is created when a subject is in shadow but still receives indirect light. This soft and diffused light can be ideal for portraits or other subjects that require even illumination.
Using ambient light creatively
Ambient light refers to the existing light in a scene, such as streetlights, windows, or lamps. By incorporating these light sources creatively, you can add an atmospheric and storytelling element to your images. Experiment with different angles and positions to capture the desired effect.
Adding supplementary light when necessary
In situations where the available light is insufficient, adding supplementary light sources can help illuminate your subject. This could be as simple as using a handheld LED panel or reflectors to bounce light onto your subject’s face. By supplementing the existing light, you can ensure that your subject is properly lit and the details are captured effectively.
Editing and post-processing
While capturing the right lighting during the photography process is crucial, post-processing can further enhance the lighting and overall impact of your images.
Enhancing lighting in post-processing
In post-processing, you can selectively adjust the brightness, contrast, and exposure of your images to enhance the lighting. By fine-tuning the lighting in certain areas, you can draw attention to specific subjects or areas of interest. Use tools such as dodge and burn to selectively lighten or darken specific areas to add depth and dimension.
Adjusting exposure and contrast
Exposure and contrast play a significant role in the overall lighting and visual impact of your images. In post-processing, you can adjust the exposure to brighten or darken the image while maintaining proper tonal balance. Additionally, adjusting the contrast can enhance the differentiation between light and dark areas, adding depth and drama to your photographs.
Correcting color and white balance
Post-processing allows you to correct any color casts or white balance issues that may have occurred during shooting. By adjusting the color temperature and tint, you can ensure that the colors in your images are accurate and visually pleasing. Utilize the tools available in your editing software to fine-tune the color and white balance to achieve the desired result.
By understanding different types of lighting, utilizing natural and artificial light effectively, mastering exposure techniques, creating depth and dimension, and manipulating color temperature, you can significantly elevate the quality of your photography. Don’t be afraid to experiment and continuously refine your lighting skills to capture stunning and impactful images. So grab your camera, embrace the light, and let your creativity shine through!
